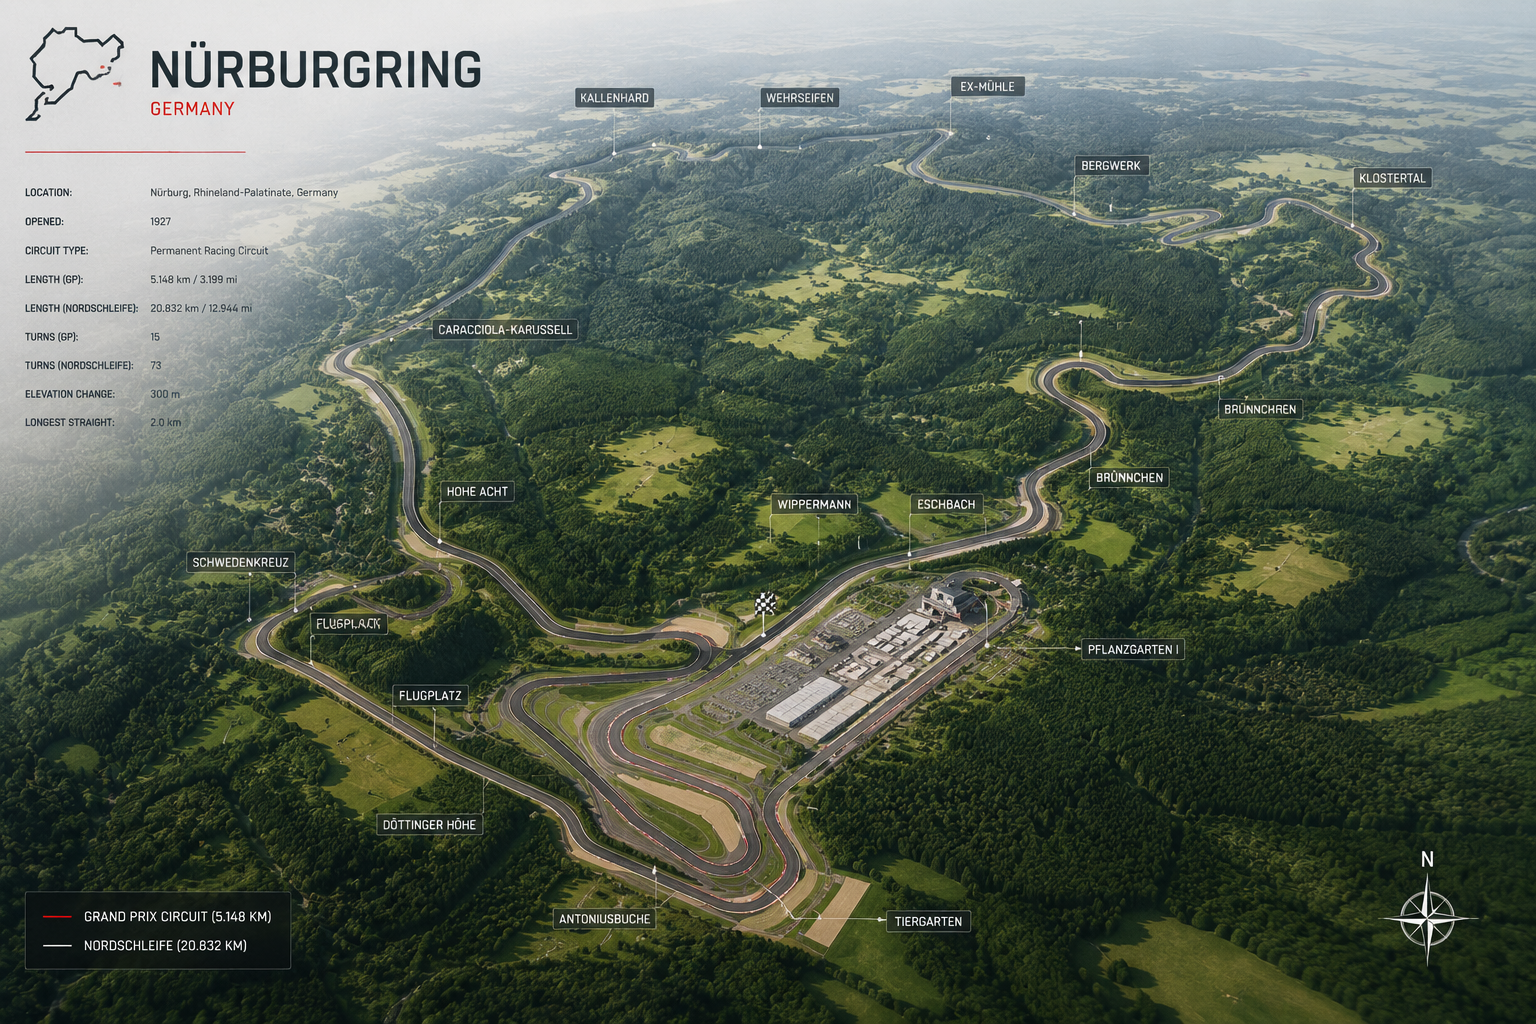
Interactive Track Map
Tap Zones To Inspect Braking And Apex Priorities
Reference mode segments the lap into low-speed launch exits, medium-speed balance zones and high-speed confidence sectors.
Circuit Detail
A precision guide to racing line, braking reference, turn-in timing and exit discipline for one of Europe’s benchmark high-speed circuits.
Quick Facts
Interactive Track Map
Reference mode segments the lap into low-speed launch exits, medium-speed balance zones and high-speed confidence sectors.
Weather
09:00 Dry 16 C
12:00 Crosswind 20 kph
15:00 Light rain risk 30%
Facilities
Fuel station, tire service, garages, classroom briefing rooms, pro instruction office.
Corner Guide
Core corners with the highest lap-time sensitivity are broken down with both visual and telemetry anchors.
Use a minimal brake brush only if required for balance, then commit to one clean steering phase. The biggest losses here come from mid-corner corrections, not from braking too little.
If you hesitate at turn-in, you will carry that uncertainty through the entire sequence that follows.
Brake release must taper smoothly while steering builds. Over-slowing for apex speed costs launch all the way down the straight that follows.
Prioritize earlier, cleaner throttle pickup over chasing tight apex geometry.
Racing line and rhythm are everything. Small steering reductions, clean curb usage and stable load transfer here are worth major delta gains.
This complex rewards confidence built from repeatable visual timing, not late reactive corrections.
Mistakes And Fixes
Most time loss comes from confidence leaks in high-speed transitions and poor exit prioritization in slower corners.
Common Mistake
Extra steering input through fast direction changes scrubs speed and destabilizes throttle timing.
Telemetry Cue
Look for correction spikes and increasing delta immediately after transition zones.
Session Drill
Run 5 laps focused only on one steering phase per transition and earlier exit throttle at Luffield.
Elevation Profile
Subtle elevation changes influence braking pressure confidence and steering release behavior in fast transitions.
Video Learning
Onboard plus telemetry overlay allows pause-and-explain moments for braking, steering and throttle synchronization.
Related Lessons
Comments
"Track learning mode gave me confidence through Sector 2 before my first event."
"The exit speed cues on Luffield immediately cleaned up my throttle trace."
"Linking steering trace noise to Maggotts-Becketts corrections helped me find consistent pace."